

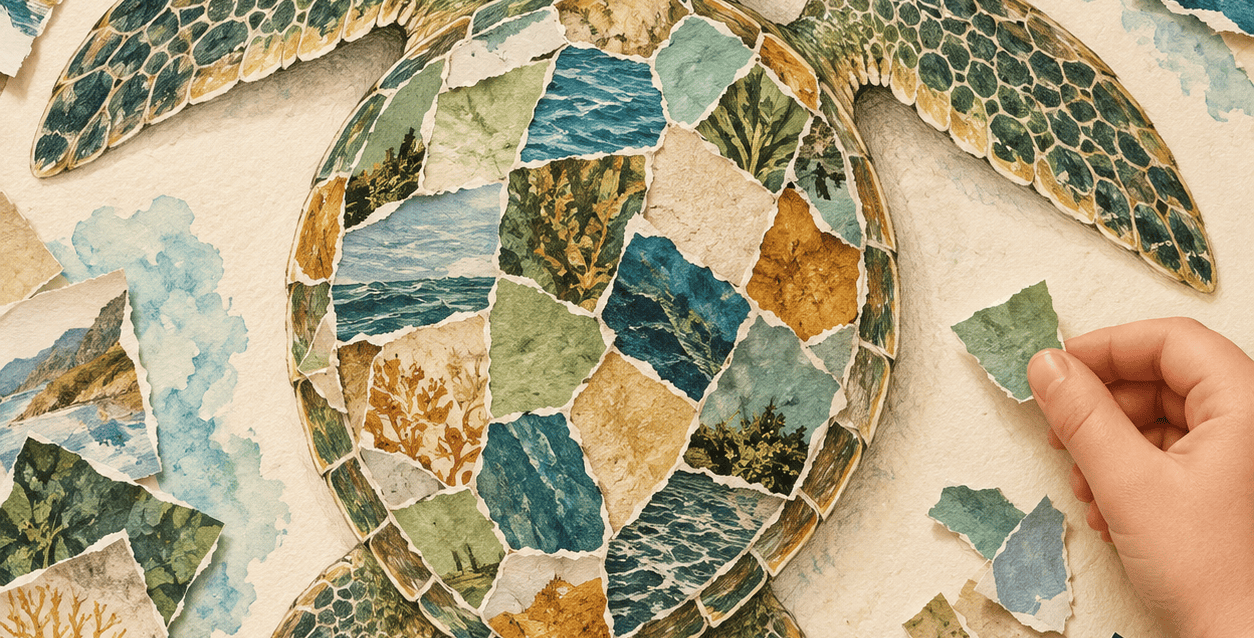
learning adventuresCreate Your Sea Turtle Mosaic
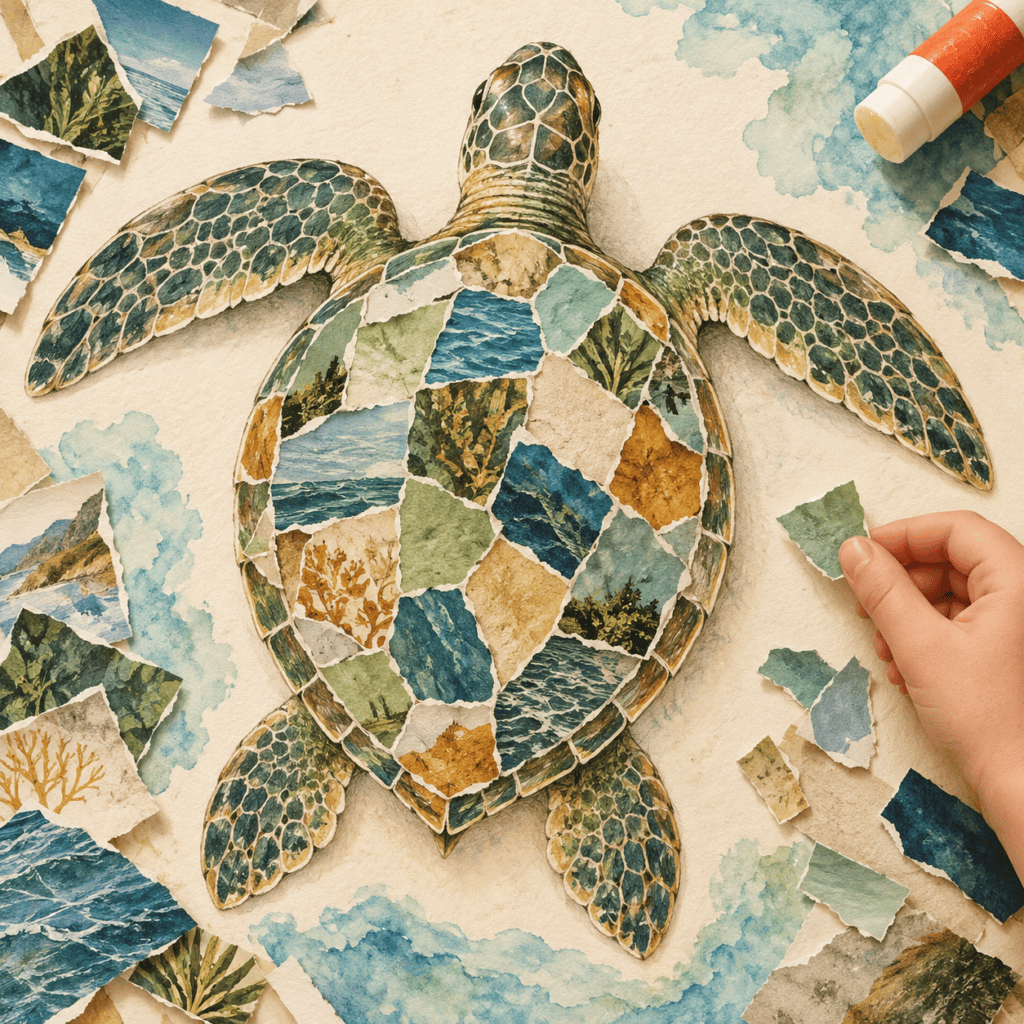
Build a sea turtle from paper colors and patterns. Start with the supplied outline, arrange your pieces and turn reused paper into an ocean keepsake.
Ages: 4–10 with an adult · Time: 30–45 minutes
Get Ready to Explore
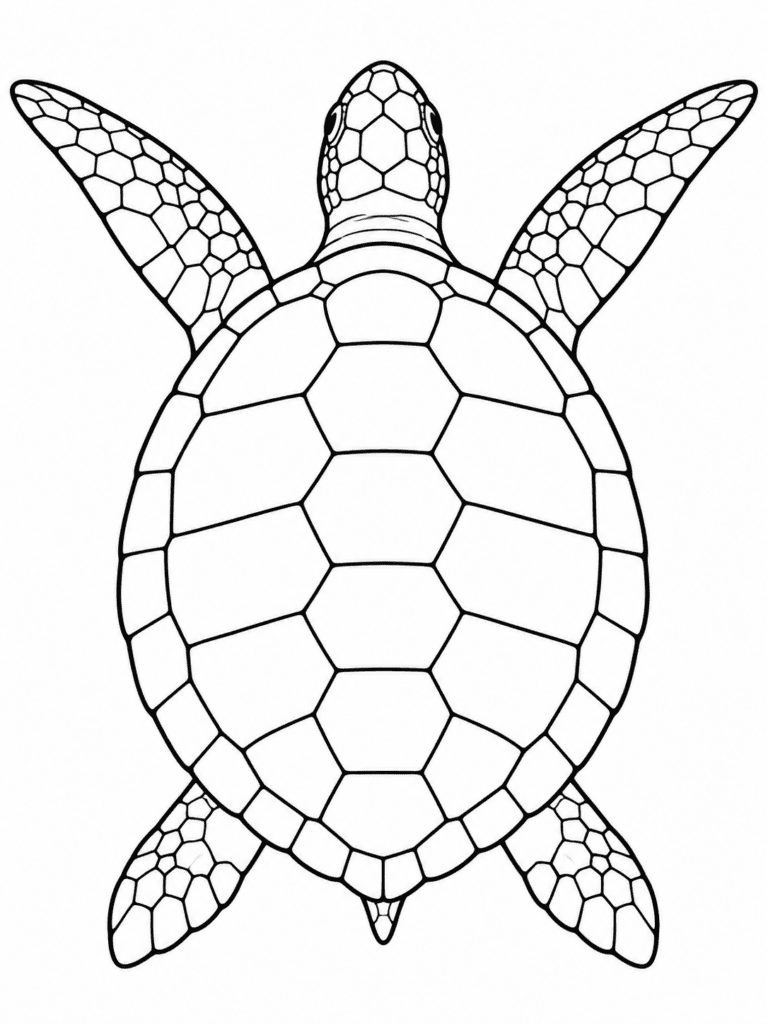
Print the four-page pack at actual size. Page 2 is the turtle base; pages 3 and 4 provide larger and smaller paper shapes. Print only the version you need, or use torn scraps from old magazines instead.
What to Bring
- Printed turtle base and your choice of paper-piece sheet
- Crayons, child-safe scissors and a glue stick
- Optional clean scrap paper or old magazines
- An adult to help cut and talk about the turtle
Follow the Clues
1. Meet your sea turtle
Find the head, long front flippers, shorter rear flippers and shell on the supplied outline. The large spaces inside the shell are areas to decorate. This is an artistic sea turtle model, not a species identification diagram.
2. Choose your paper palette
Pick three or four colors, such as sea blue, green, sand and brown. Color the supplied paper pieces before cutting, or gather clean paper scraps. Your turtle can use imaginative colors; real turtles do not all share one pattern.
3. Cut or tear your pieces
Little Explorers can use the larger shapes on page 3, with adult help, or tear bigger scraps. Junior Explorers can choose the smaller shapes on page 4. The pieces are flexible mosaic tiles, not an exact-fit puzzle.
4. Arrange before you glue
Lay the dry pieces within the shell outline. Turn and overlap them or leave tiny gaps. Keep the turtle’s outer silhouette visible. Try two arrangements before choosing one; there is no single correct design.
5. Glue your ocean mosaic
Lift one piece at a time, add a little glue and return it to the paper. Work across the shell. Color the head and flippers, then let the page dry flat. Leave the finished turtle on the full sheet or ask an adult to help cut around it.
6. Finish with a discovery
On the back or in the supplied box, draw a line to one front flipper and say what you notice about its shape. Add one action that gives real turtles space, such as observing from a distance and following local beach guidance.
Pico Asks. Tati Wonders.
Discover together
- How are the front and back flippers different on your outline?
- Most sea turtles have visible shell plates called scutes. Leatherbacks have a different leathery covering rather than this plate pattern.
- How did changing the size of your paper pieces change your design?
Your Detective Challenge
Little Explorers: use bigger pieces, choose colors and point to head, flippers and shell. Junior Explorers: plan a repeating pattern, mix tile sizes and label three body parts. Every arrangement can be different.
Explore with Care
An adult helps with scissors. Keep small scraps away from very young children and collect them after the craft. This is a paper activity; never attach decorations to wildlife or approach turtles for a closer look.
Bring the Discovery Home
Display your turtle with the words Made from reused paper if you used scraps. Share one turtle discovery and one choice your family can make to care for ocean habitats.
bring the adventure homeThe story continues with you.
Read together. Color with imagination. Bring Pico and Tati’s world into your home with books that invite children to explore, learn and care for God’s creation.
Our Promise
At Tico Explorers, we encourage children to explore with curiosity, learn with kindness, and care for God’s creation.
Our adventures invite families to notice the world together, respect local communities, and leave the places they visit cared for.
Explore • Learn • Protect
-
 Select options This product has multiple variants. The options may be chosen on the product page
-
 Select options This product has multiple variants. The options may be chosen on the product page
-
 Select options This product has multiple variants. The options may be chosen on the product page
-
 Select options This product has multiple variants. The options may be chosen on the product page